


Introduction
Multiple headless Raspberry Pi wifi connection setups are significant in situations with limited physical access. It plays a crucial role in server applications, IoT devices, or other projects to save space and energy without a dedicated monitor. It allows administering and interacting with the Raspberry Pi remotely, enabling easy configuration, software installation, and troubleshooting without direct physical interaction. This article guides you through the crucial process of configuring various Wi-Fi setups on a headless Raspberry Pi.
Raspberry Pi and Headless Raspberry Pi: The Importance
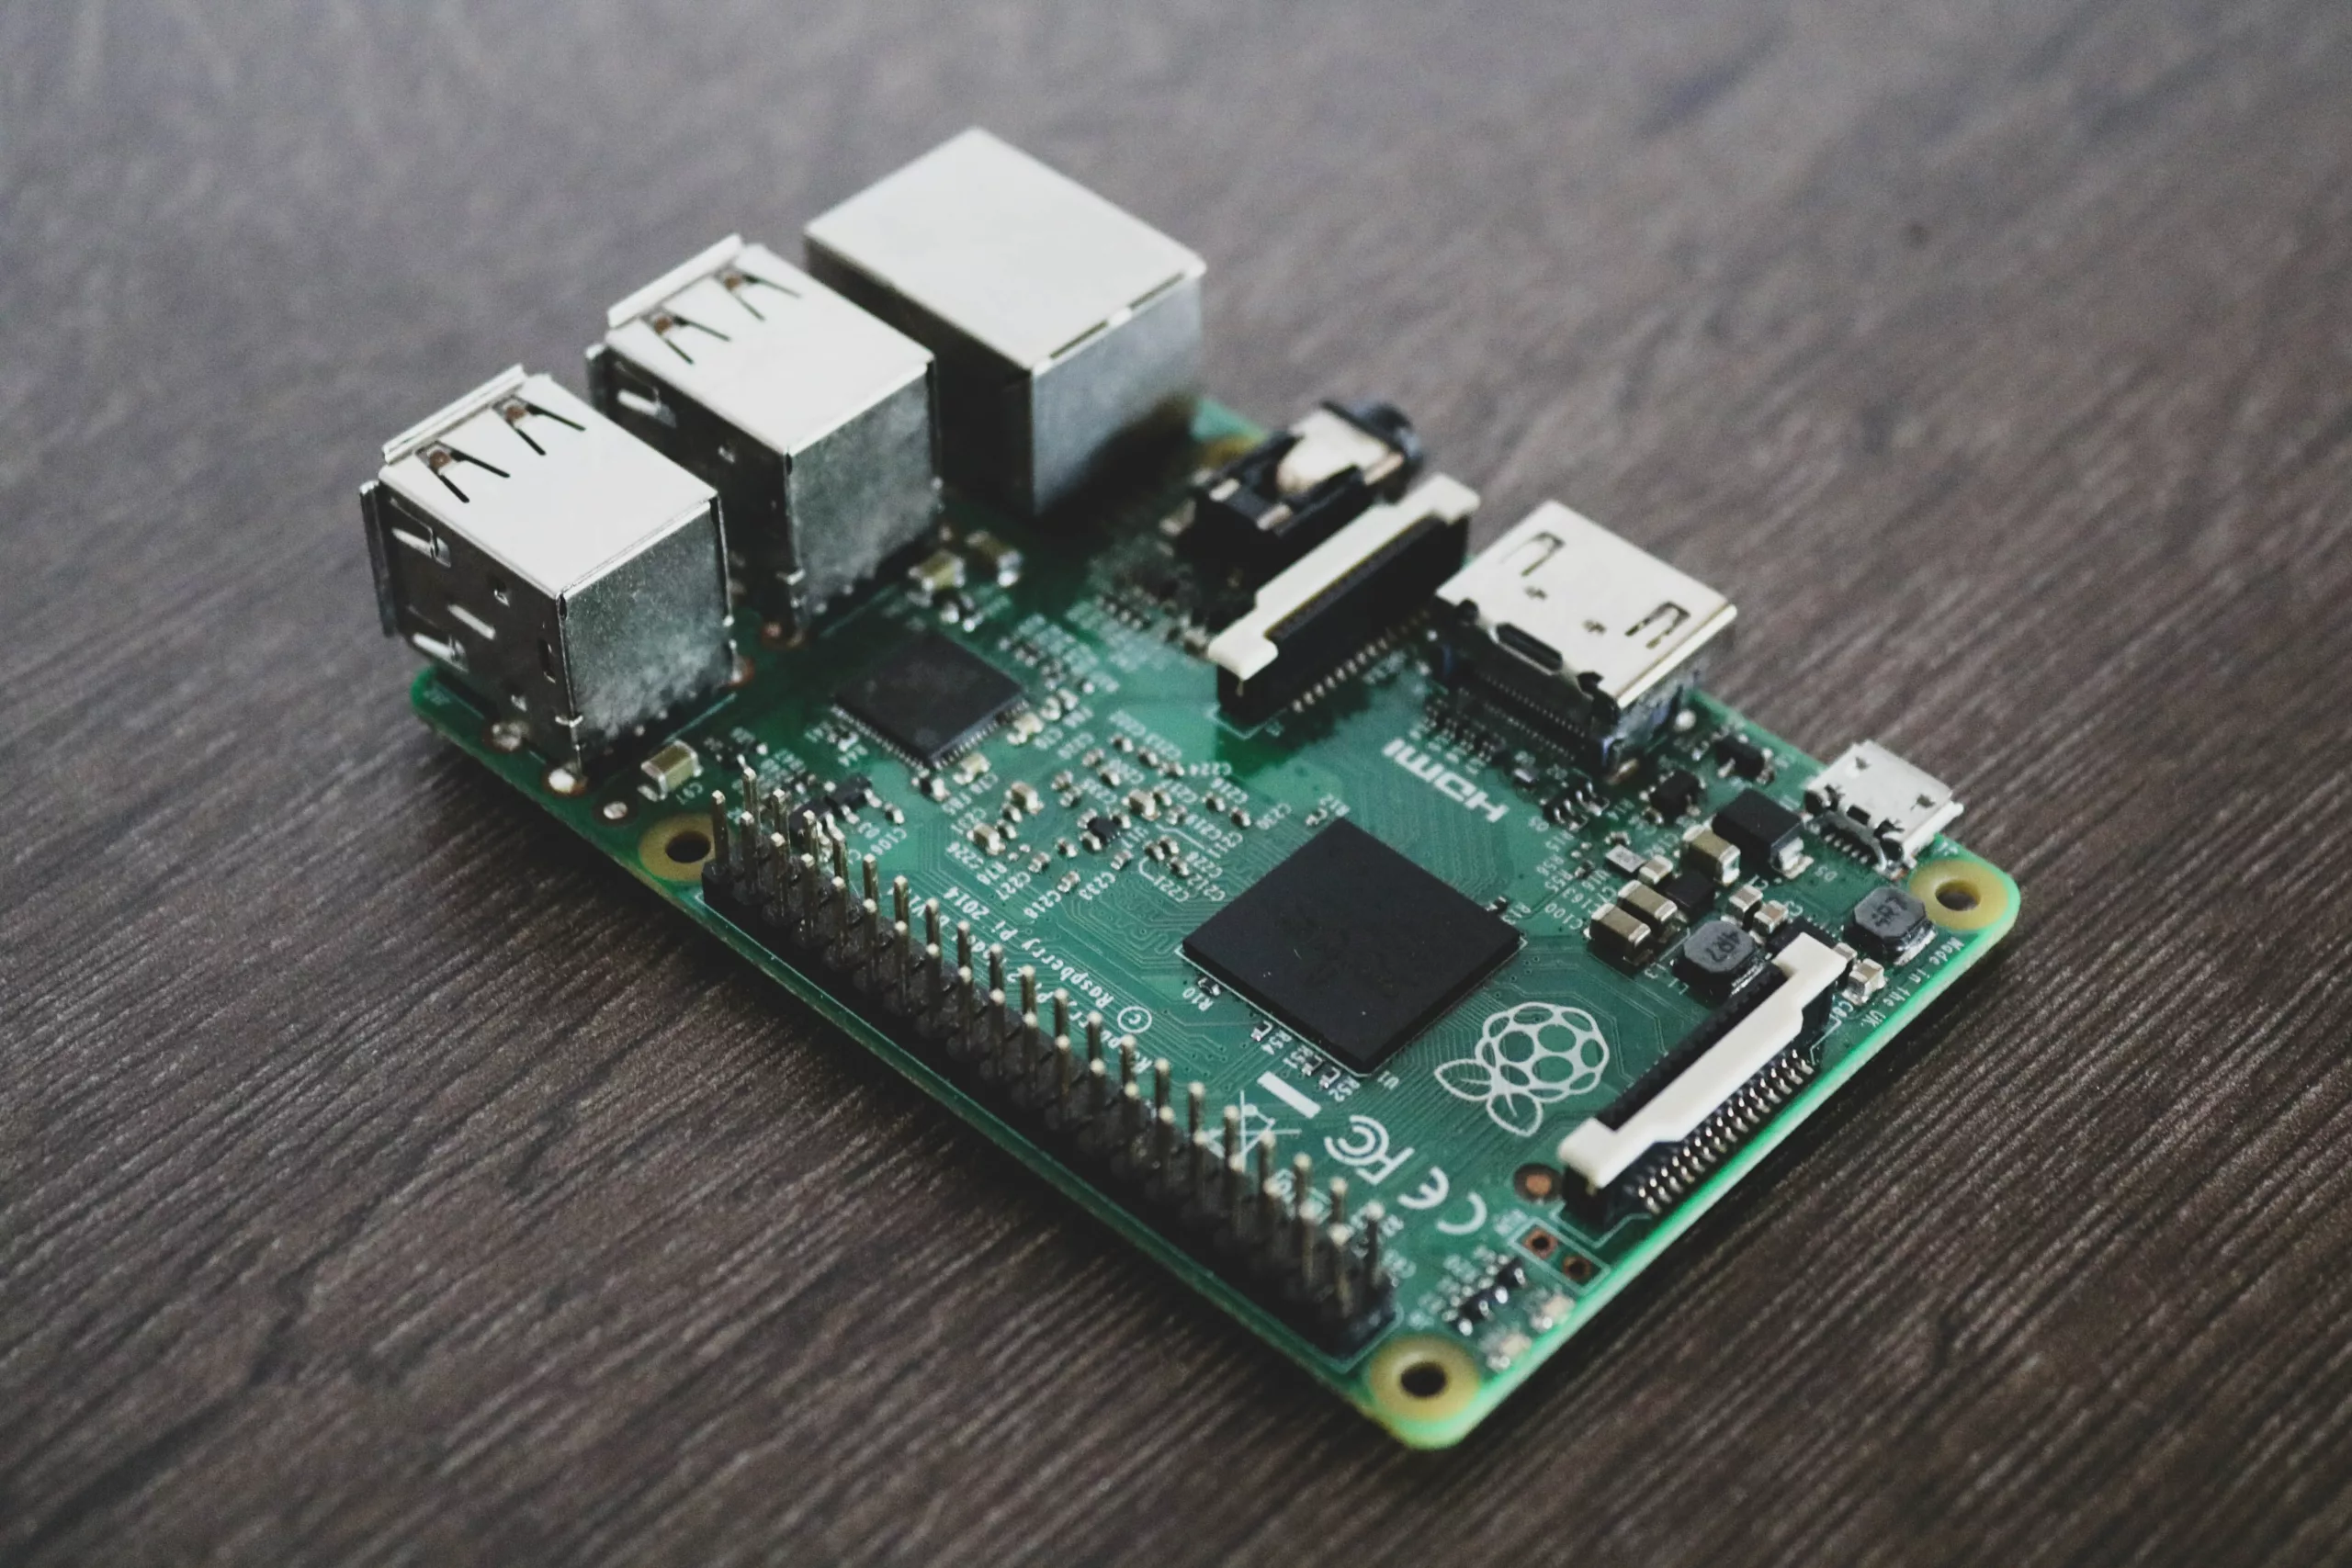
Raspberry Pi, the Raspberry Pi Foundation’s development, is a series of small single-board computers. It was designed to promote basic computer science education and released in 2012 to facilitate computer hardware and software experimentation. With about a credit card size, the Raspberry Pi comprises all the essential computer components and peripherals. This affordable, versatile, and innovative device runs on Linux-based operating systems, primarily the Raspberry Pi OS, as well as other operating systems like Ubuntu and Windows 10.
On the other hand, headless Raspberry Pi refers to using a Raspberry Pi without connecting it to a monitor, keyboard, or mouse. In a headless setup, the Raspberry Pi is remotely accessed and controlled from another computer over a network. Establishing a command-line interface connection is commonly achieved through Secure Shell ‘SSH’. While a graphical desktop interface is created using Virtual Network Computing ‘VNC’.
The Significance of Configuring Multiple Wi-Fi Setups On a Headless Raspberry Pi
Configuring multiple Wi-Fi setups on a headless Raspberry Pi can be important for several reasons, such as:
Network Flexibility – Multiple Wi-Fi setups allow robust flexibility by allowing Raspberry Pi to connect to different networks. This is particularly useful when frequently moving Raspberry Pi to different environments or requiring a backup network connection when one network goes down.
Remote Accessibility – Configuring multiple Wi-Fi setups enables remote access of Raspberry Pi over different networks. For example, when connecting Raspberry Pi over Wi-Fi at home and switching to a different Wi-Fi network at the office or travelling.
IoT Applications – Raspberry Pi is widely used for Internet of Thing projects, where devices require wireless internet connection. Raspberry Pis is deployed in different locations or environments by configuring multiple Wi-Fi setups. This ensures contact with the appropriate Wi-Fi networks without manual intervention.
Redundancy and Failover – When Raspberry Pi serves critical functions, multiple Wi-Fi setups provide redundancy and failover capabilities. It automatically switches to another network, ensuring continuous operation without interruption.
Development and Testing – Multiple Wi-Fi setups allow developers and testers to simulate different network-dependent functionalities during software development. It ensures their software works seamlessly across various network configurations.
Configuring Multiple Wi-Fi Setups On a Headless Raspberry Pi: Crucial and Easy Steps
Configuring multiple Wi-Fi setups on a headless Raspberry Pi requires a considerable procedure. The primary benefit is easily switching between wireless networks without physical access to the device. Consider a step-by-step guide on how to configure Wi-Fi setups:
- Prepare the Raspberry Pi
Make sure you have the latest installed operating system version and a working Raspberry Pi with a compatible Wi-Fi adapter. Configure the initial Wi-Fi setup on the Raspberry Pi by editing the code. This will be the default Wi-Fi network the Pi connects to when it boots up.
- Connect to the Raspberry Pi
Power On the Raspberry Pi and establish a connection to a local network using an Ethernet cable.
Find the Raspberry Pi’s IP address on your network using the network’s scanning tool or check your router’s connected devices list.
- SSH into the Raspberry Pi
Open a computer terminal and use SSH to connect to the Raspberry Pi using its IP address. Provide the password when prompted.
- Install Necessary Tools
Once connected to the Raspberry Pi, ensure the necessary tools are installed using the required codes.
- Configure Additional Wi-Fi Networks
Create a new configuration file for each additional Wi-Fi network to set up by applying its concerned code.
- Configure the Boot Process
At the file end, add the appropriate line for each additional network configuration file you created. Save the file and exit the editor.
- Reboot the Raspberry Pi
Restart the Raspberry Pi to take effect the changes. After rebooting, it should automatically connect to the specified Wi-Fi network. If that network is unavailable, connect to the next network configuration file in the list. You can add many Wi-Fi networks by following the steps above for each network.
Note: Ensure the security of your network configurations, especially if they contain sensitive information like passwords. Be cautious when sharing or storing such files.
The Final Thoughts
Configuring multiple headless Raspberry Pi Wi-Fi setups can be a convenient way to ensure seamless connectivity in various environments. This flexibility can be advantageous when the Pi needs to be deployed in multiple locations or connected to different networks. By following several key steps, it is possible to easily configure various Wi-Fi setups allowing you to switch between other networks without needing a physical interface.
Related posts:
 Understanding Airflow Fundamentals for Proper Dc Fan
 Hexiwear Wearable IoT Development Kit
 Intelligent LED Solutions – LED Mounts
 IoT Applications: Top 5 Popular Real World IoT Applications
 MCP8024 BLDC Motor Driver Evaluation Board
 What is the significance of a Potentiometers: Basic Information’s
 Understanding Magnetic Angle Sensor for Brushless DC Motors
 Predictive Maintenance & Condition Monitoring Solutions
 Application of MCP8024 BLDC Motor Driver Evaluation Board
 Connectors for Signal Applications: Manufacturers
 Different Switch Types – Mechanical and Electronic – An Overview
 How to Build a Custom Wireless PLC


