


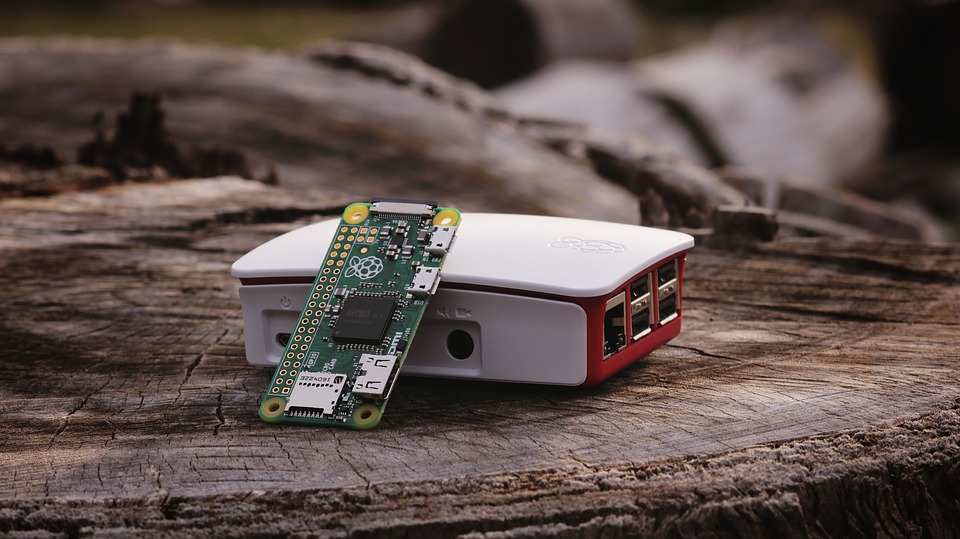
Raspberry Pi has been used to monitor machines, build gaming experiences, or perform complex business activities. But in a world whereby smart home actually makes a difference, inexpensive Raspberry Pi is now becoming a cost-effective solution for handling smart devices in your house. Nevertheless, to actually produce a Raspberry Pi-based system that manages home automation, you’re going to need some understand-how. And more than anything else, you’re going to have to be inclined to fiddle a bit to get it correct. Node-RED is a spatial tool for wiring the Internet of Things that can be operated on a Raspberry Pi and enables accelerated project prototyping. setting up Node-RED on the Raspberry Pi 2, before creating a flow that reads the temperature sensor and controls the Lightwave RF mains socket is advantageous.
Hardware components needed
- Raspberry Pi 2
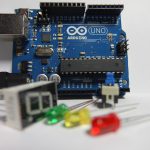
- prototyping breadboard
- jumper wires
- 4.7k resistor
- Lightwave RF mains socket.
- 174mm length of solid-core wire (to use as an antenna for the wireless board)
- DS18B20+ temperature sensor
- 433 MHz transmitter module
Setting up Light wave RF control
First mount wiring Pi and light wave rf-pi to power wireless mains sockets. This program is running in a web browser, and you don’t need to install any additional application to work with it, and you can run it from any mobile, laptop, or PC that has a web browser. And as far as this project is preoccupied, you can optimize your home on your home network only. For a new Raspberry Pi, you’re going to want to install the Raspbian operating system on the microSD card. You can either manage your Raspberry Pi with a connected monitor and a standard user interface or choose SSH if you are able to operate the system without the aid of a monitor.
Once all the basic are set, ensure that you allocate a static IP address so that computers in your home and your own phone, wherever you are in the world, can easily connect to the internet.
Installing Node-RED
Here, the Node.js is installed. This will begin the Node-RED server on the Pi server. Open a new web browser tab and browse to the IP address of your Pi port 1880. You should see that the Node-RED setting is primed and ready to use. Node-RED can be run by either the menu or by the local host.
Node-RED comes packaged with a number of useful nodes, one of which is the debug node used. Also use an injection node to assist with checking. It allows sending of messages to payloads by simply pressing a button on the node, which ensures that there is no long wait for time-based data to test the code. There are also other throughput nodes that you could simply add, such as the Twitter node that can be used to alert you when the socket is turned on or off.
The software will find a connection to everything from lights to door locks. Now, all you need to do is link up to the feature that operates with your Raspberry Pi operating system and regulate your devices as you would any other appliance.
Related posts:
 Understanding Airflow Fundamentals for Proper Dc Fan
 Intelligent LED Solutions – LED Mounts
 Hexiwear Wearable IoT Development Kit
 IoT Applications: Top 5 Popular Real World IoT Applications
 What is the significance of a Potentiometers: Basic Information’s
 Wireless communication technology for Every IoT Design
 XMC1202 Flicker-Free LED Driver Board for LED Light
 Apply Smart Current Sensing and Monitoring Technologies
 Easy Ways of Reusing and Repairing the Electronic Devices
 Can dimmers switches save you money?
 All That You Need to Know About Two-Pin Connectors
 Some Common Reasons Why Your Safety Switches Keep Tripping


