


Introduction
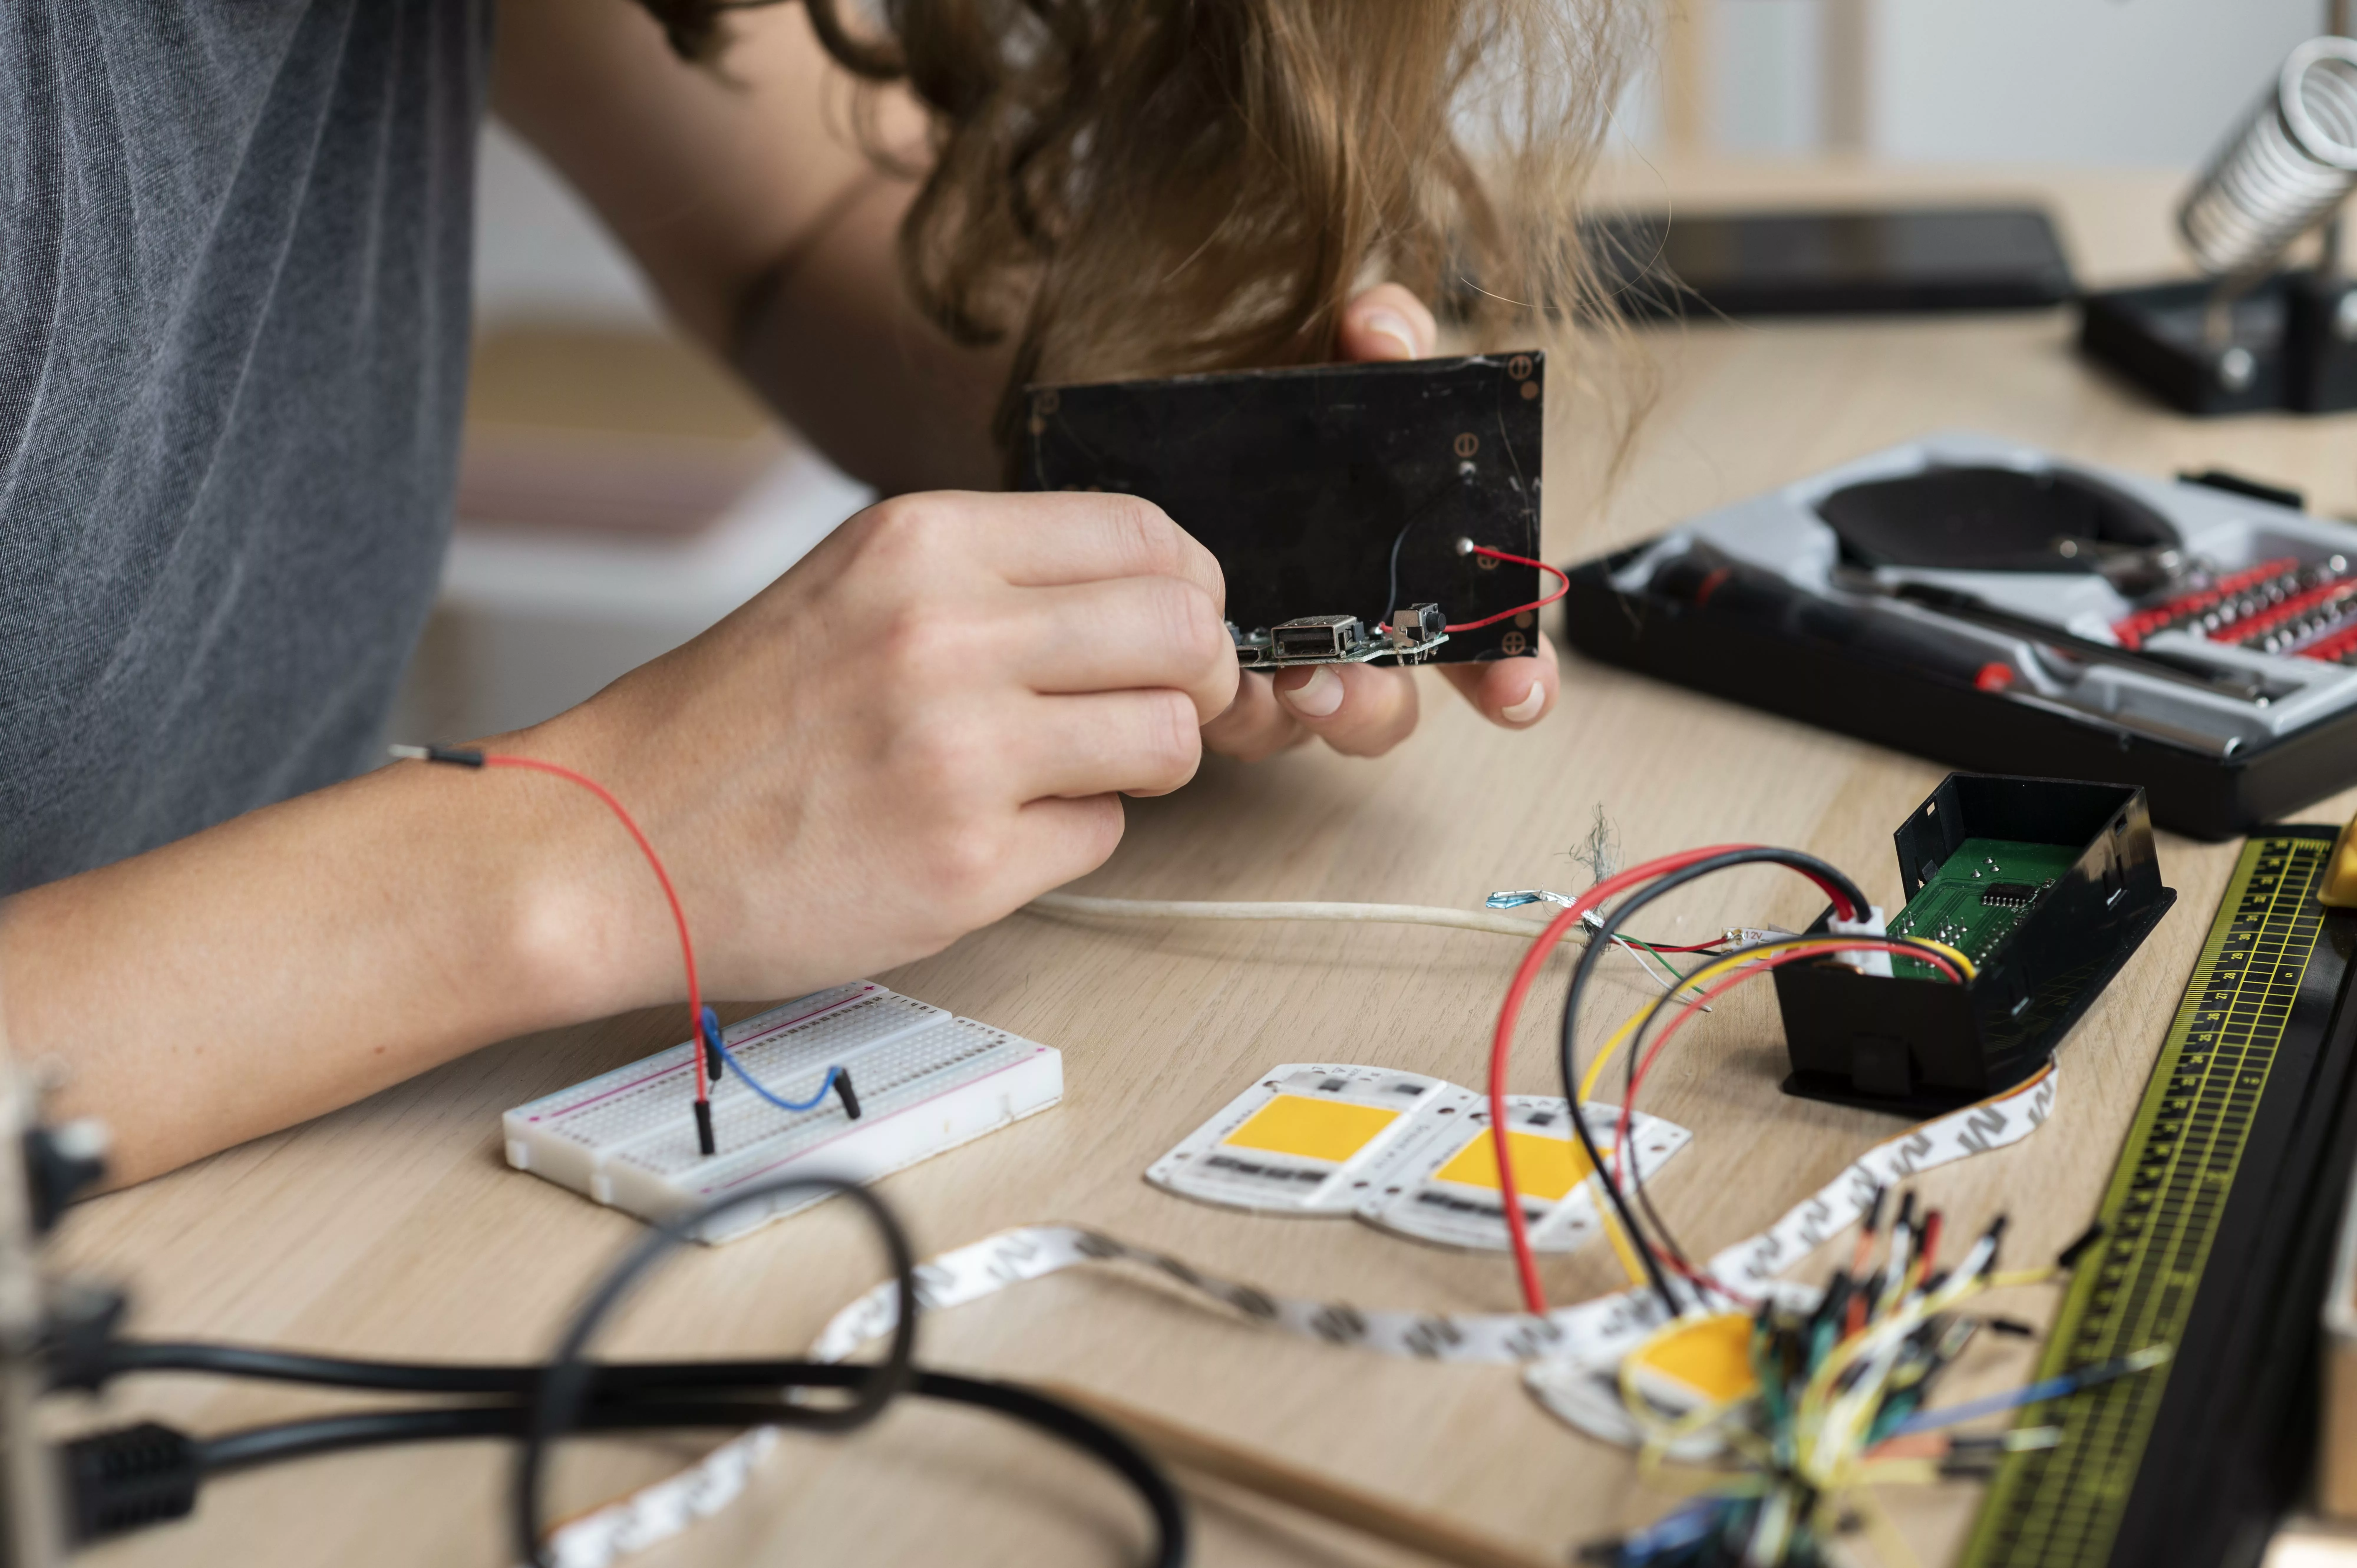
The Squareline Studio User Interface (UI) Design is an advanced project aiming to create a user-friendly and visually appealing graphical interface for Arduino-based projects. Similar to building designs using other evaluation boards, by developing a Squareline Studio UI, users can efficiently interact with their Arduino projects, making it an ideal choice for hobbyists and professionals. This article outlines the steps involved in building a Squareline Studio UI Design on an Arduino.
The Squareline Studio UI: Exploring the Significance
SquareLine Studio is a graphical programming tool that supports multiple platforms and simplifies the interactive interface design for Arduino graphic projects. The SquareLine Studio UI provides a graphical interface allowing users to easily control and monitor Arduino projects. It typically comprises buttons, sliders, graphs, and other interactive elements, making it visually appealing and user-friendly. Furthermore, it is popular for its simplicity, elegance, and versatility, making it ideal for beginners and advanced Arduino enthusiasts. With the combination of Arduino and the aesthetic appeal of Squareline Studio, it is possible to develop intuitive control systems for home automation, robotics, data visualisation, etc.
Crucial Steps to Build a SquareLine Studio UI Design on an Arduino:
Building a SquareLine Studio user interface design involves crucial steps, including:
- Gathering Required Components
To build a Squareline Studio UI on an Arduino, gather the necessary components, such as:
- Arduino board
- Computer with the Arduino IDE installed
- USB cable for connecting Arduino to the computer
- Sensors and actuators
- Internet connection.
- Setting Up the Arduino IDE
Ensure the latest version of Arduino IDE- Integrated Development Environment, is correctly installed on your computer. The IDE is crucial for supporting and programming Arduino and uploading code.
- Choosing a Suitable Communication Protocol
Select a suitable communication protocol to connect the Arduino and the Squareline Studio UI. Two common options include Serial communication–a relatively simple communication protocol, while Bluetooth enables wireless interaction with the UI.
- Programming the Arduino
Programming Arduino includes writing the Arduino code to handle the communication with SquareLine Studio and processing the commands received from the UI. Implement the chosen communication protocol to receive commands and send data to the Squareline Studio UI. Test the code to ensure its proper functionality.
- Designing the Squareline Studio UI
For designing the Squareline Studio UI, there are two primary options:
- Creating a Custom UI
Having a specific vision for your project, you can create a custom UI from scratch using libraries like TFT or Nextion. This ensures designing your project’s graphical elements, buttons, and sliders. Ensure the UI is optimised for the Arduino display screen size.
- Deploying Squareline Studio Software
It is an alternative approach utilising the Squareline Studio software, providing a drag-and-drop interface for creating Arduino UIs effortlessly. It enables customisation of the UI elements and designs the interface quickly, saving time and effort.
- Integrating the UI with Arduino Code
Integrate the designed Squareline Studio UI with your Arduino code. Depending on your chosen communication protocol, adapt the Arduino code to send and receive data from the UI. Ensure the UI elements correspond to the specific actions and your project data.
- Testing and Debugging
Thoroughly test the Squareline Studio UI and Arduino integration. Check for any bugs, inconsistencies, or issues with communication. Use debugging tools, monitor the serial output, and make necessary adjustments to ensure a smooth user experience.
- Integrating Advanced Features
To enhance the functionality and user experience, consider adding advanced features such as data logging, visualisation, and remote monitoring capabilities. These additions can significantly improve the Arduino project’s usability and versatility.
- Finalising the Project
Once satisfied with the Squareline Studio UI design and its integration with Arduino, finalise your project. Organise your code and prepare for project deployment or presentation.
Final Remarks
Building a Squareline Studio UI Design on an Arduino opens exciting possibilities for creating multiple interactive and user-friendly projects. By understanding the Squareline Studio UI, choosing the suitable components, and following the implementation steps, it is possible to develop a visually appealing and intuitive UI for your Arduino-based ventures. Lastly, designing such a project can elevate your Arduino projects to a new level of creativity and interactivity.
Related posts:
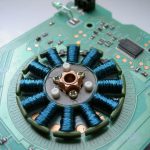 An Introduction to Brushless Direct Current (BLDC) Motors
 Design Considerations for Cellular IoT in 5G Network
 Introduction to Power-Only USB Type-C Connectors
 High-Quality USB Cables: Do They Make a Big Difference?
 Building a Data Management System for IoT Devices
 LED’S FOR VERTICAL FARMING: THE ULTIMATE BUYING GUIDE
 Constant Current LED Drivers
 Microchip Technology DM990101 IoT Ethernet Monitoring Kit
 IoT Ambitions Drive Multi-Function Sensor Integration
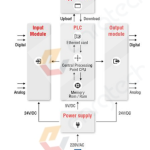 How to Build a Custom Wireless PLC
 Biggest IoT Security Global Forum Challenges 2023
 Different Switch Types – Mechanical and Electronic – An Overview


