


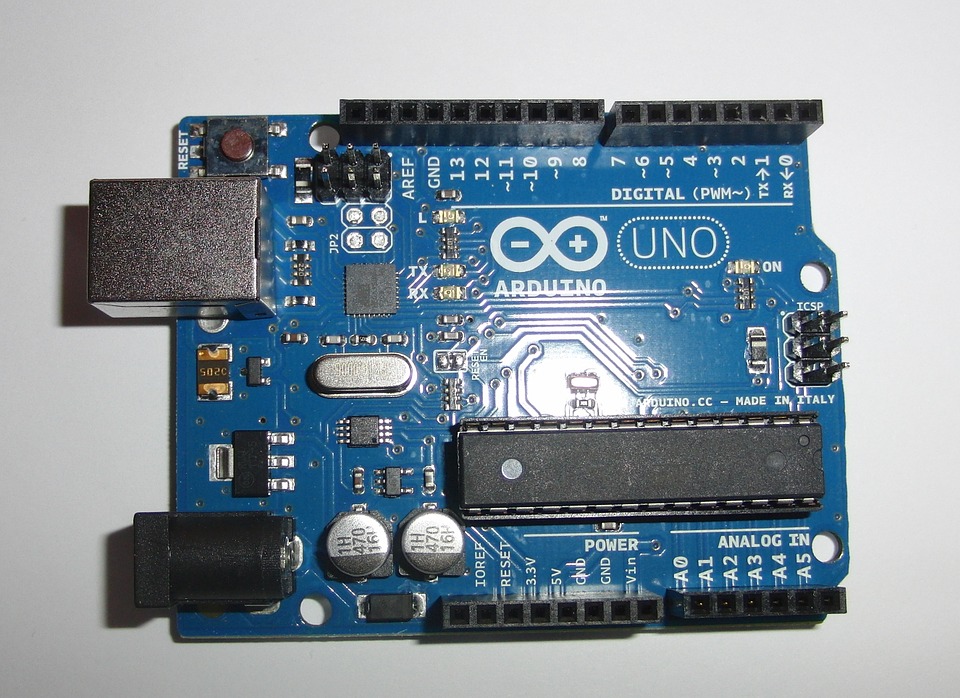
MKR 1300
The Arduino MKR 1300 comes equipped with the ATMEL SAMD21 bridged with a LoRa module thus allowing for remote IoT applications for instance mining, off-shore rigs, and farms. It has been designed to integrate SAMD21’s low power consumption and high performance while maintaining Arduino’s ease of use.
Setting up the MKR 1300
Step1: Arduino IDE
Download the latest Arduino IDE from their official website.
Step 2: Installing Arduino IDE in the board
Start the IDE. Give a couple of minutes for it to open up. Click on Tools, then select Board and then click on Boards Manager. Enter ‘MKR’ on the board manager’s search bar. From the results, select the result “Arduino SAMD Boards” and then click install. This process takes some time so be patient.
You could also enter ‘Zero’ into Boards Manager’s search bar, among the results will be “Arduino SAMD Boards” which contains the Arduino MKR 1300. Click on the “Install” button and the board information will be automatically added to the IDE.
During installation, you may be prompted about the drivers, in this case, install them because if you don’t, the board may not be recognized by the computer.
Step 3: Test the board
To test if the board is working, load the blink example built into the Arduino IDE. The beauty with Arduino IDE is that the code written for one board on the IDE is likely to work on all the other boards. This makes it easy to migrate from one board to another. Go to File> Examples>0.1Basics> Blink. If the board is well installed and the connections are right, the Arduino MKR should blink. This marks the final stage of the setup process.
Related posts:
 An Introduction to Brushless Direct Current (BLDC) Motors
 High-Quality USB Cables: Do They Make a Big Difference?
 Building a Data Management System for IoT Devices
 Microchip Technology DM990101 IoT Ethernet Monitoring Kit
 8 Steps to Repair an LED Light Driver
 Top 5 Industry Applications of Brushless Motors
 Design Considerations for Cellular IoT in 5G Network
 LED’S FOR VERTICAL FARMING: THE ULTIMATE BUYING GUIDE
 Comparing Low-Power Wireless Technologies
 IoT Ambitions Drive Multi-Function Sensor Integration
 How to Secure your Blockchain Solutions
 Easy Ways of Reusing and Repairing the Electronic Devices


