


Ethernet
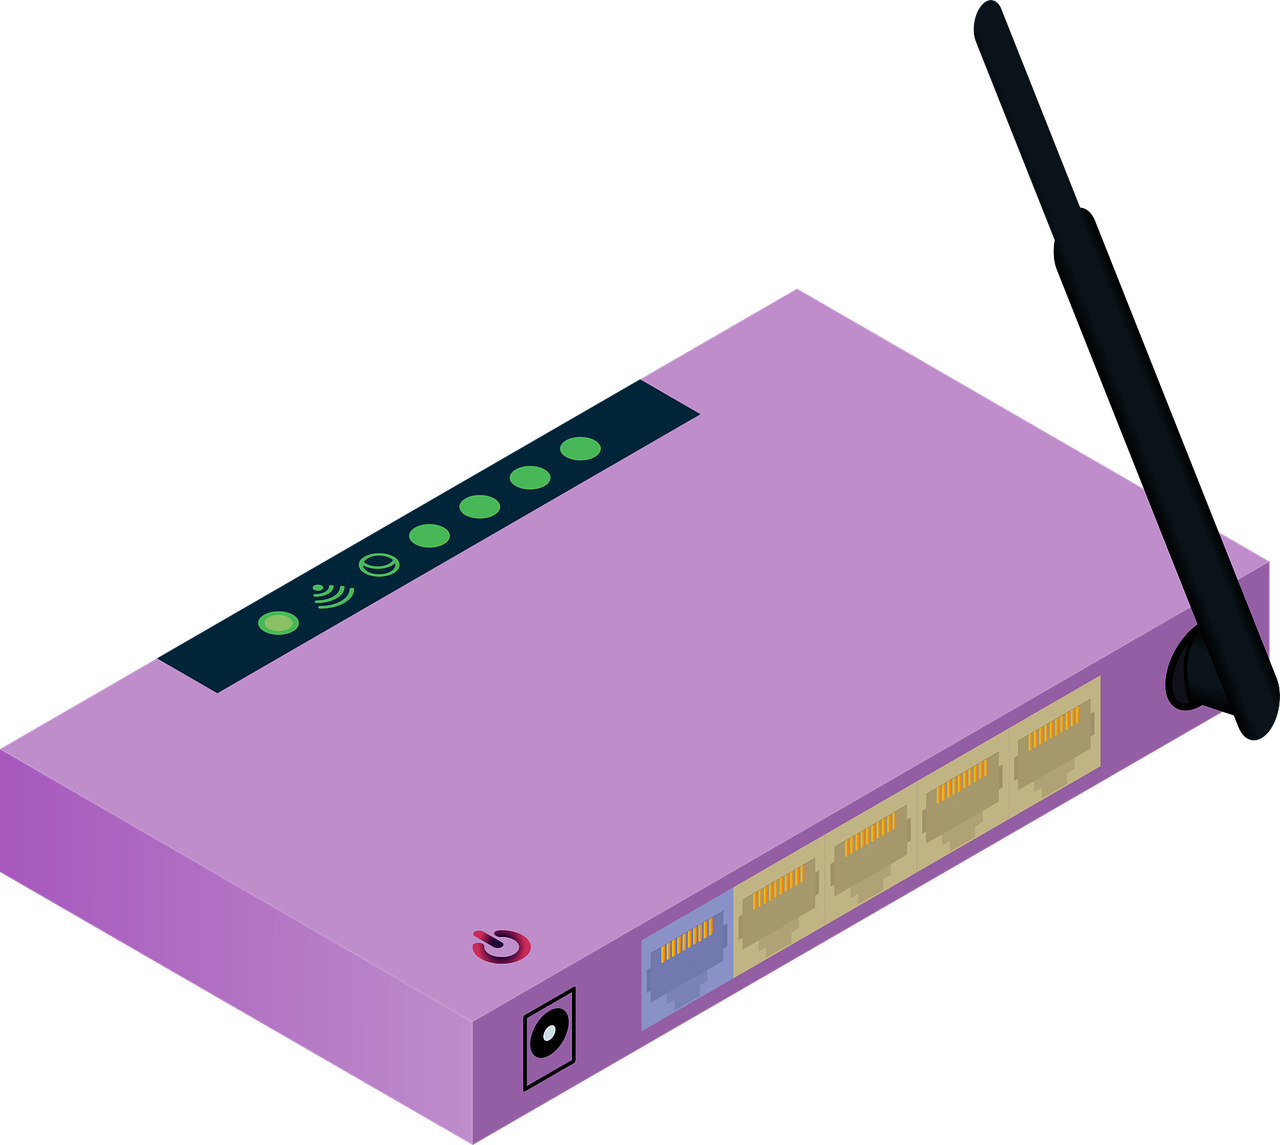
Ethernet offers a way of connecting equipment together in a local area network, LAN, or wide area network (WAN). The network enables them to communicate with each other through a protocol. The network enables devices to format and transmit data in a manner that other devices on the same LAN or WAN can recognize receive and process.
Connecting to an ethernet device
- Connect the ethernet device directly to your computer. This is quite easy but a bit restrictive since it dominates the computer’s ethernet port and could make the computer to temporarily go offline from the internet. This method is straightforward and could be used to configure an ethernet device for network communication.
- Connect your ethernet device to a LAN. This method is relatively more complicated. Nonetheless it more common than the first one.
- Remotely connecting the ethernet device to the internet. The is achieved through connecting the device to the LAN and adding a little Port Forwarding, static IP address, and a VPN. This method can be complex thus requiring the purchase of additional devices
Whichever method you use, you need background information. You need to have enough information to make the connection of choice. In this article, we are going to focus on the first method since it’s the prelude to the other methods.
Connecting an ethernet device directly to your computer
To be able to pull this off, you need;
- Basic understanding of Ethernet Static and dynamic IP addresses and the subnet mask
- How to change the IP properties of a host computer’s network interface adapter
- Understand how to change the IP address of a device if it does not have a default address
To shed more insight into this method, we are going to explore how to set up a computer to communicate with a 989EN-4016 module from Acromag.
- Disconnect the ethernet cable from your computer if it is connected to the router via the same.
- Navigate to your computer’s control panel and then select settings. Choose the” Network and Internet” followed by “Ethernet” on the right.
- On the Ethernet adapter, click “Network and sharing center” to get a list of all your network’s adapters.
- If you connect to the internet using WiFi, right-click on the WiFi adapter and then select disable to turn it off temporarily.
- Right-click on the Ethernet adapter and then select Properties to display the properties of the network. Click on “Internet Protocol Version 4”.
- Click on “Use the following IP address” on the IPV4 properties screen. Enter 128.1.1.105 into the IP address field and then enter 255.255.255.0 into the subnet mask field. Do not bother with the Default Gateway and DNS settings. Click on the “ok” button to save changes.
- Connect an ethernet cable from the ethernet port of the computer to that of the 989EN-4016 module and then power the device before placing it in its default communication mode. Open your browser and then type the address 128.1.1100 and then press enter to display the home page of the module.
Related posts:
 DC Motors: Different Types Of Motors And Their Use
 Hexiwear Wearable IoT Development Kit
 Screwdrivers: Everything You Need to Know
 LED Lights: Different Types of Through-Hole LED Lights
 Texas Instruments Complete Sensor Solutions
 Application Guide for AC Motors Selection
 Choosing the correct LED and LED Driver
 Most Beneficial and Essential Adhesives Types and Uses
 Understanding Magnetic Angle Sensor for Brushless DC Motors
 Smart Retailing Benefits with IoT
 France’s $3.1 Billion Aid Paves the Way for Revolutionary Semiconductor Factory
 MCP8024 BLDC Motor Driver Evaluation Board


